Bamboo Shield Installation
Bamboo Shield sets a permanent boundary for running bamboo — and the whole job is one afternoon with a shovel. Here it is, step by step.
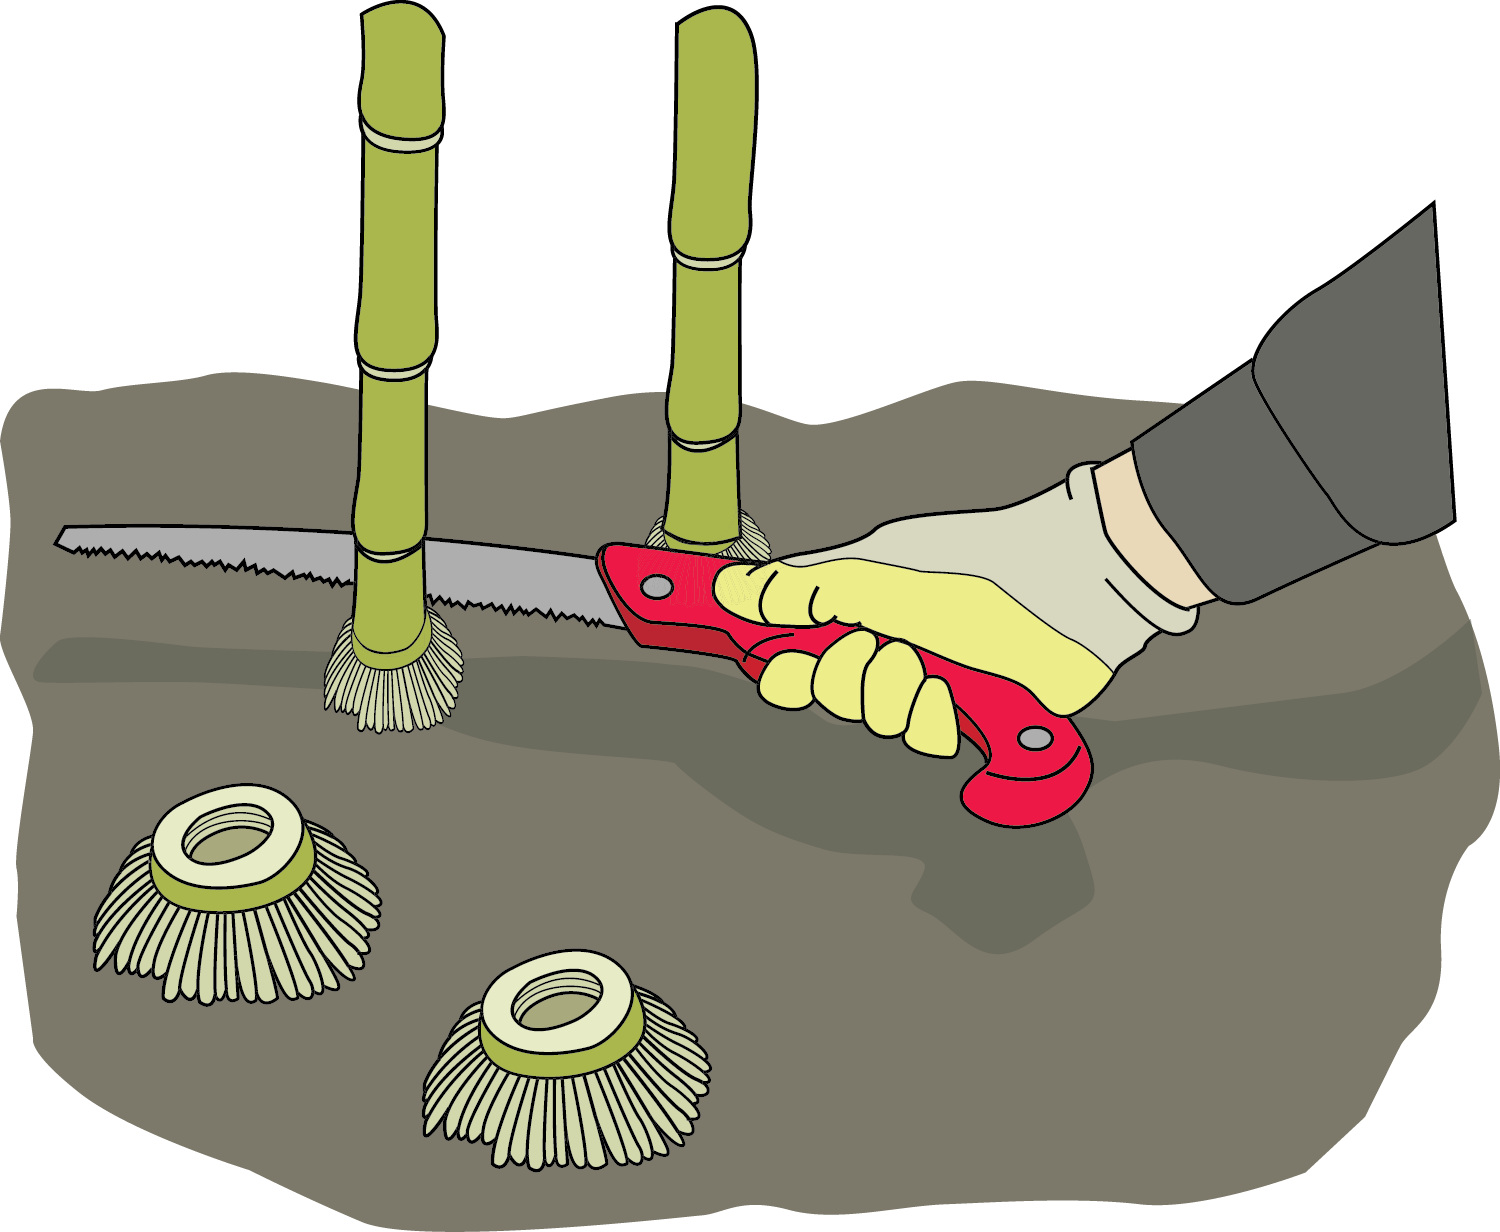
Clear the line
Cut back any bamboo growing outside the area you want to contain. Canes are hollow, so most any medium-duty saw handles them. (Skip this for a brand-new planting.)
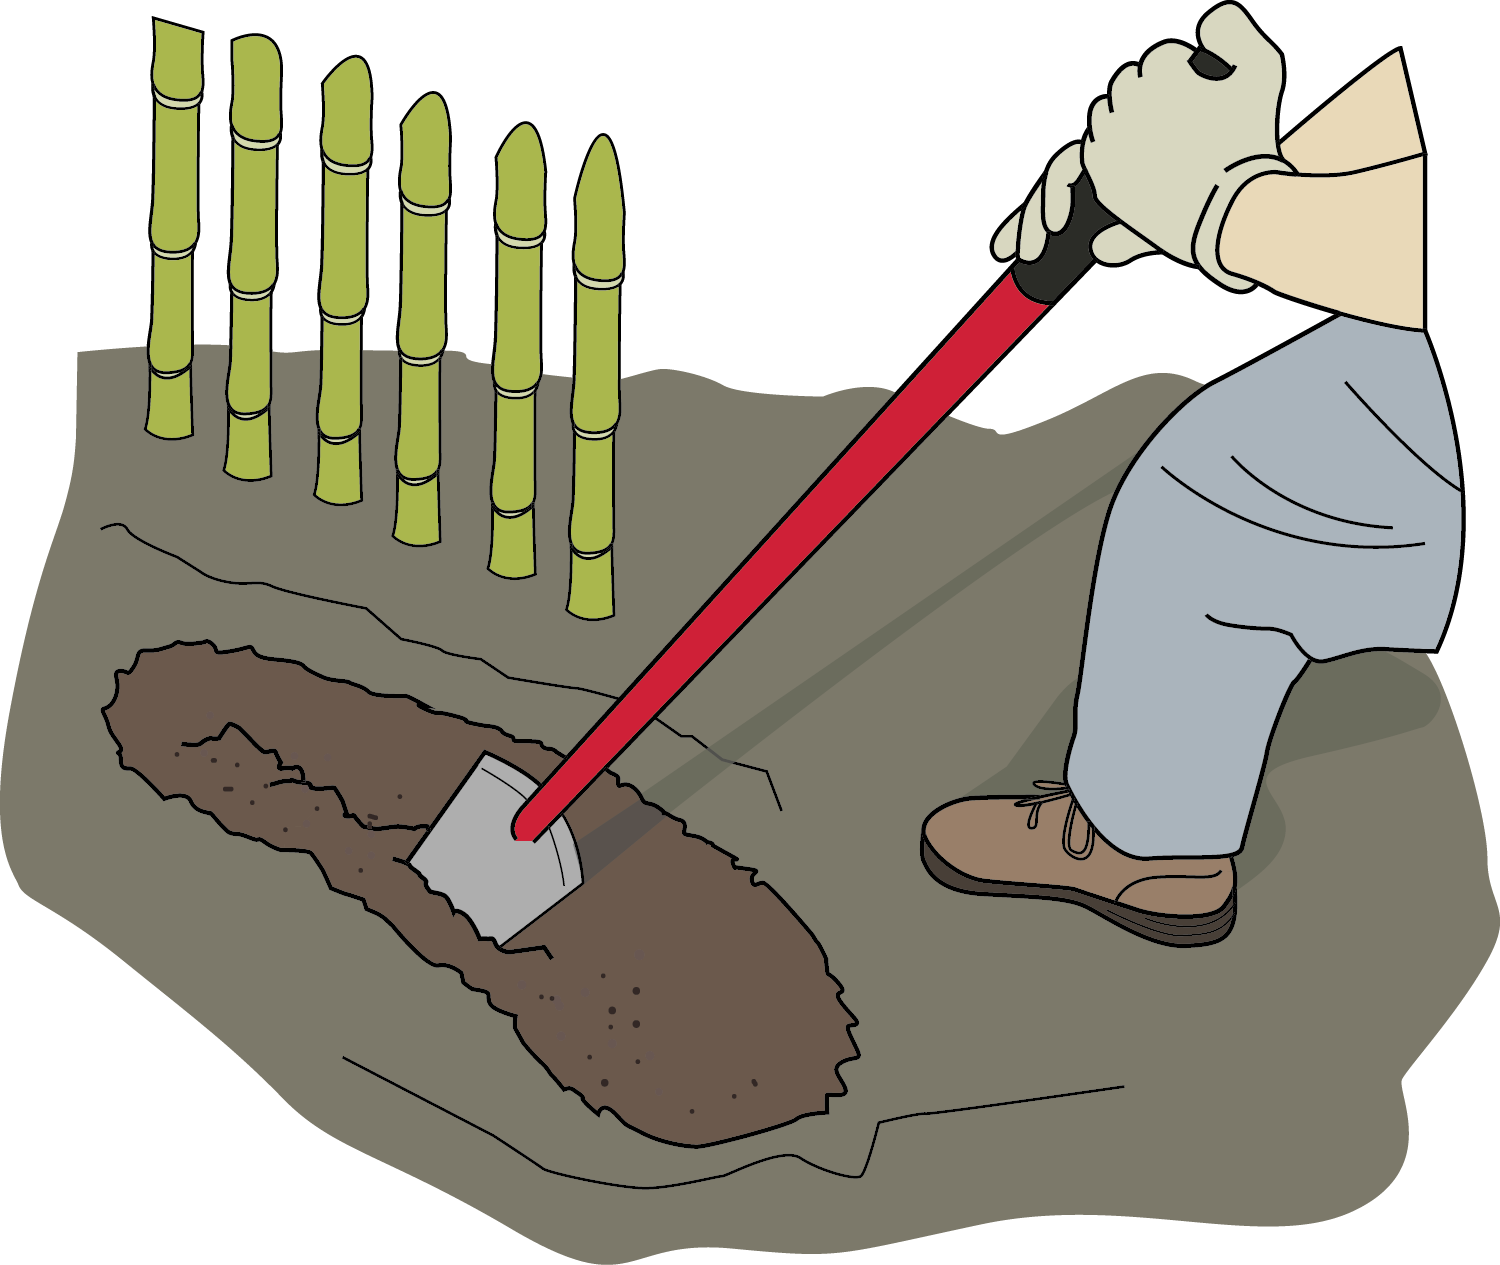
Dig the trench — by hand
Dig a narrow trench along your line. It doesn't need to be wide, just deep enough to seat the barrier.
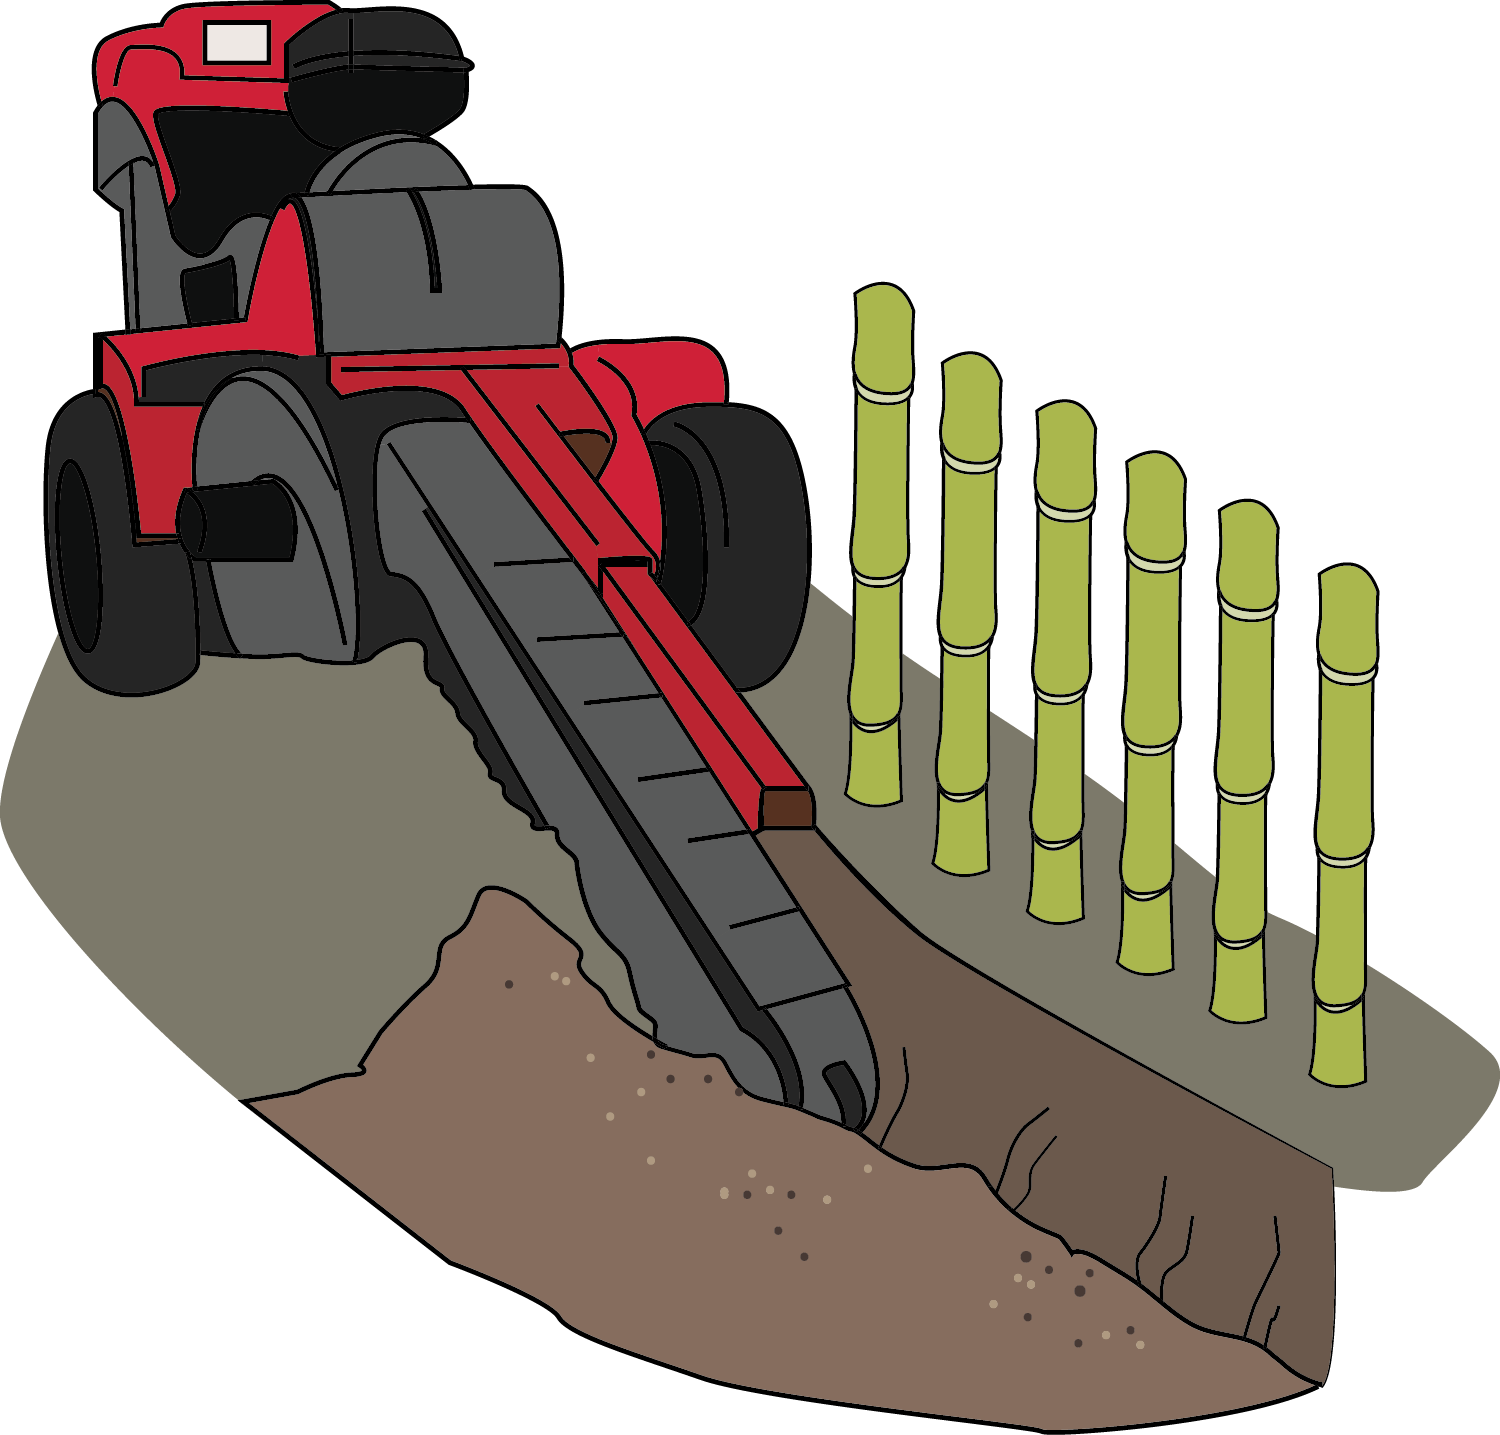
…or by machine
Renting a trencher speeds things up on open, accessible ground. Either way, go deep enough for the barrier size you chose.
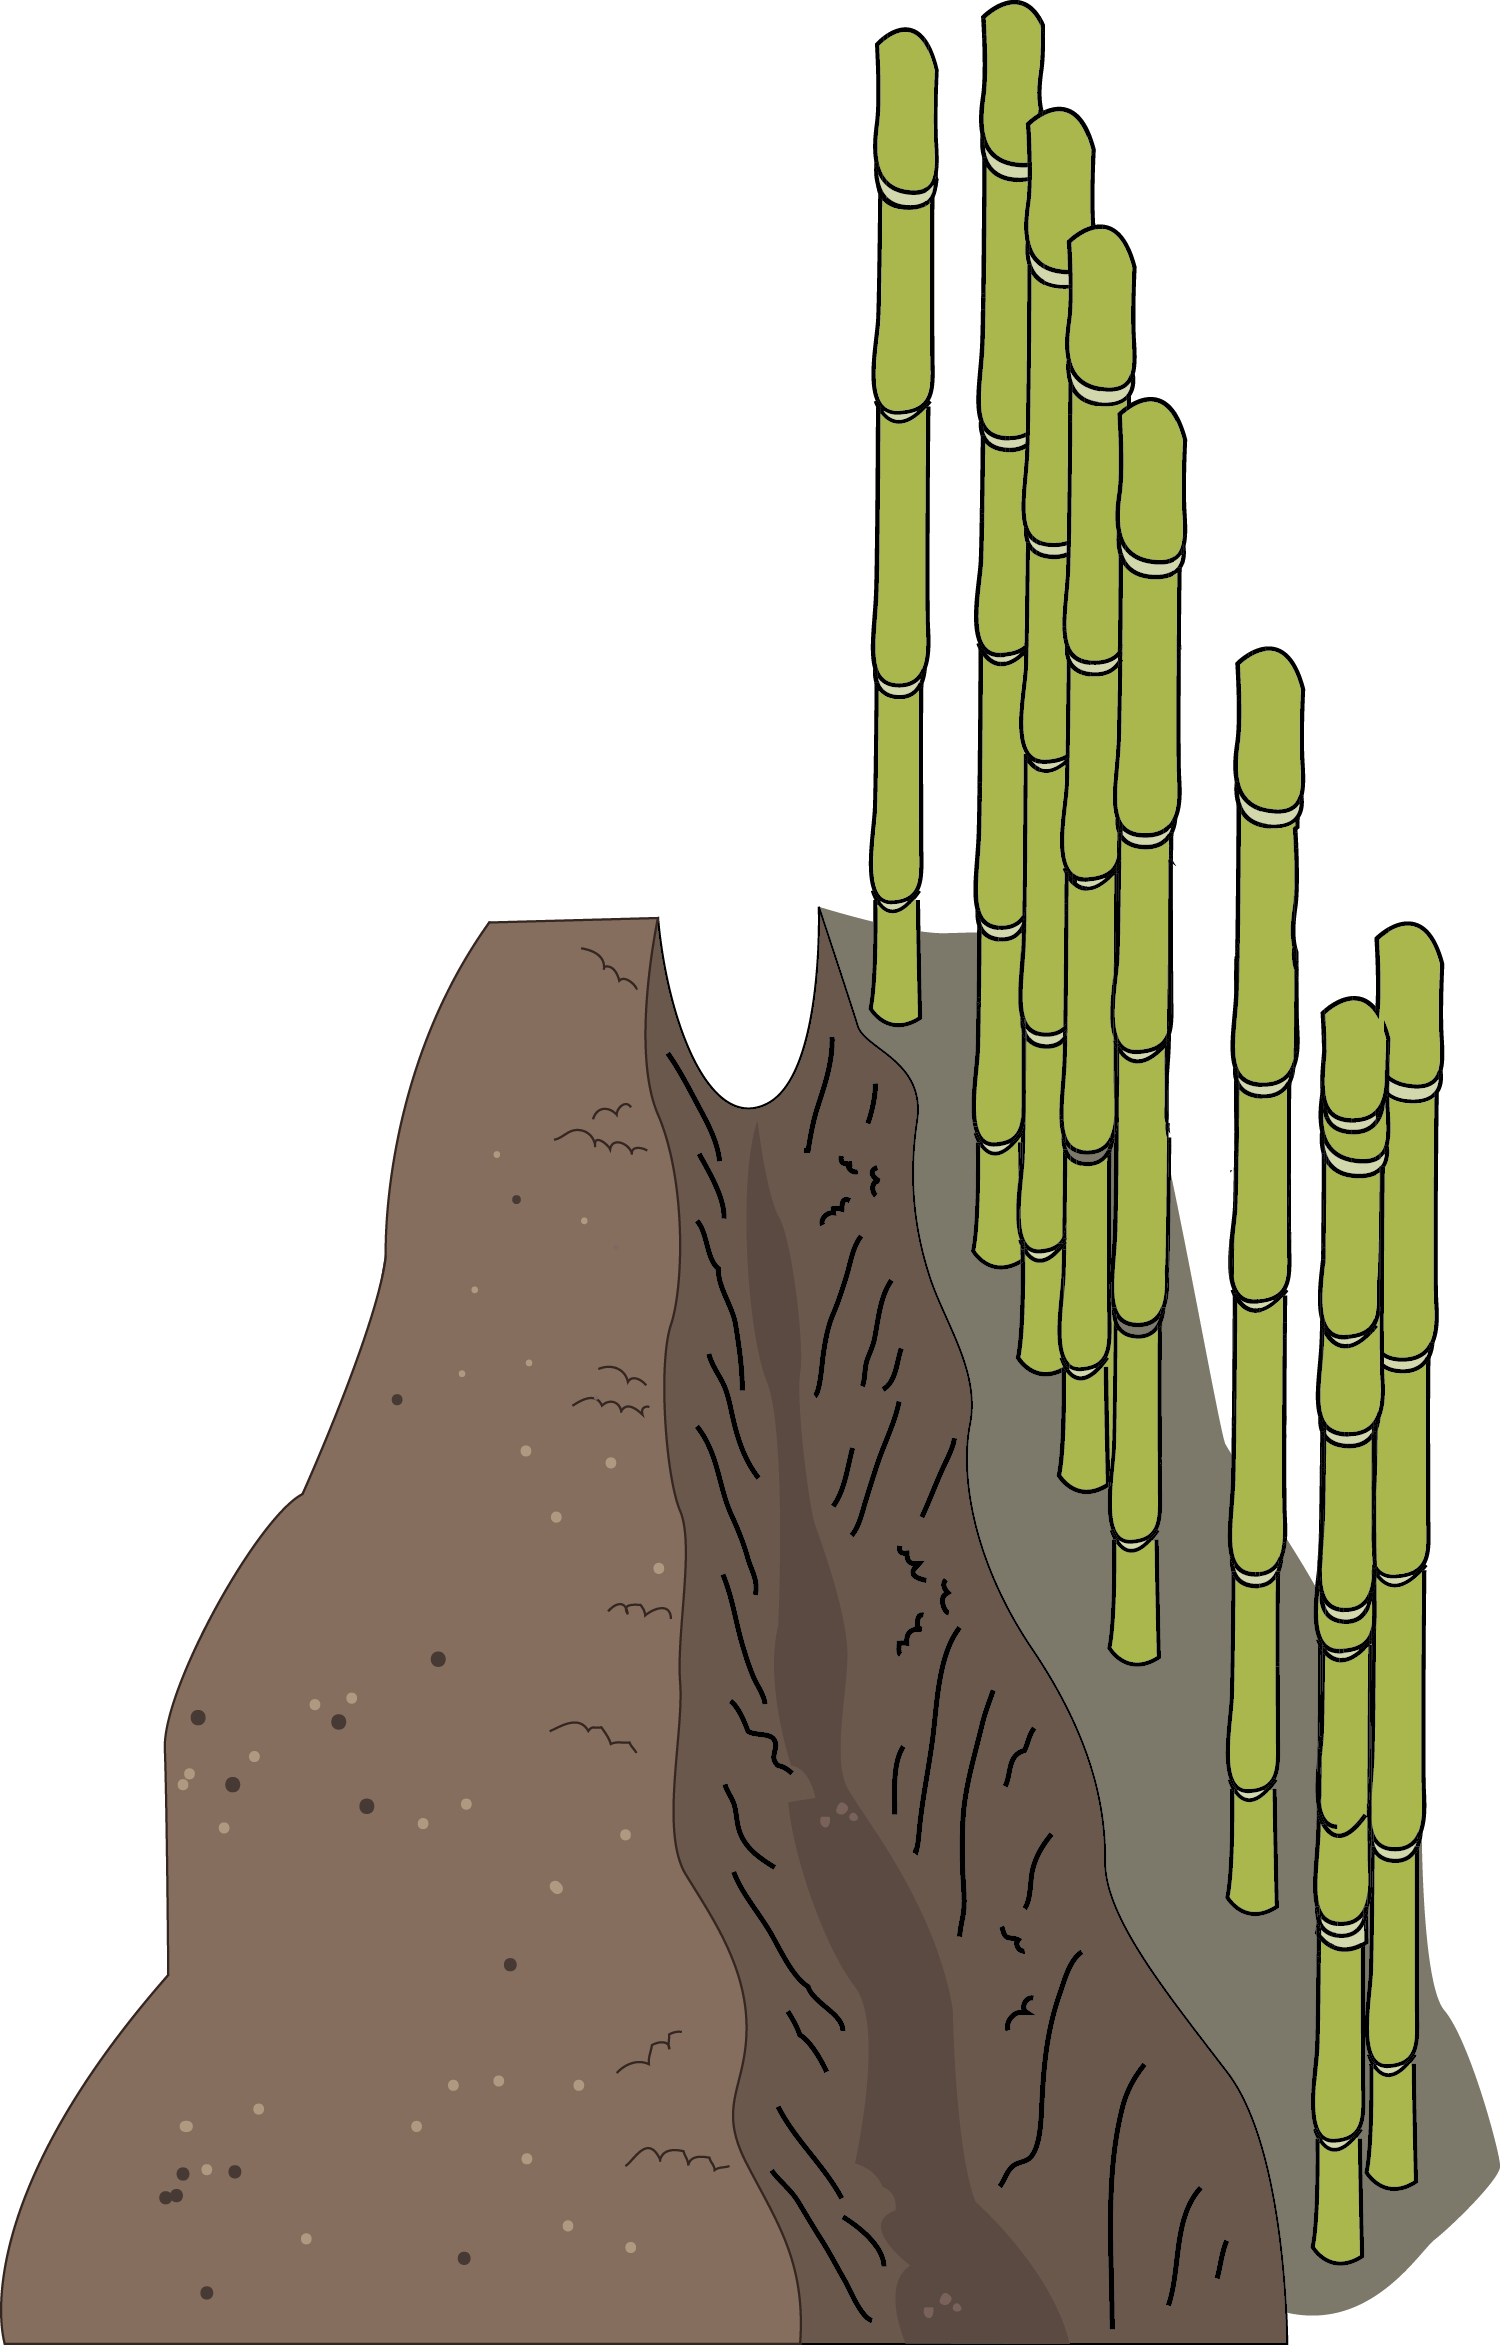
Prepare the trench
Check the depth and clear any debris so the barrier can seat fully against the trench wall.

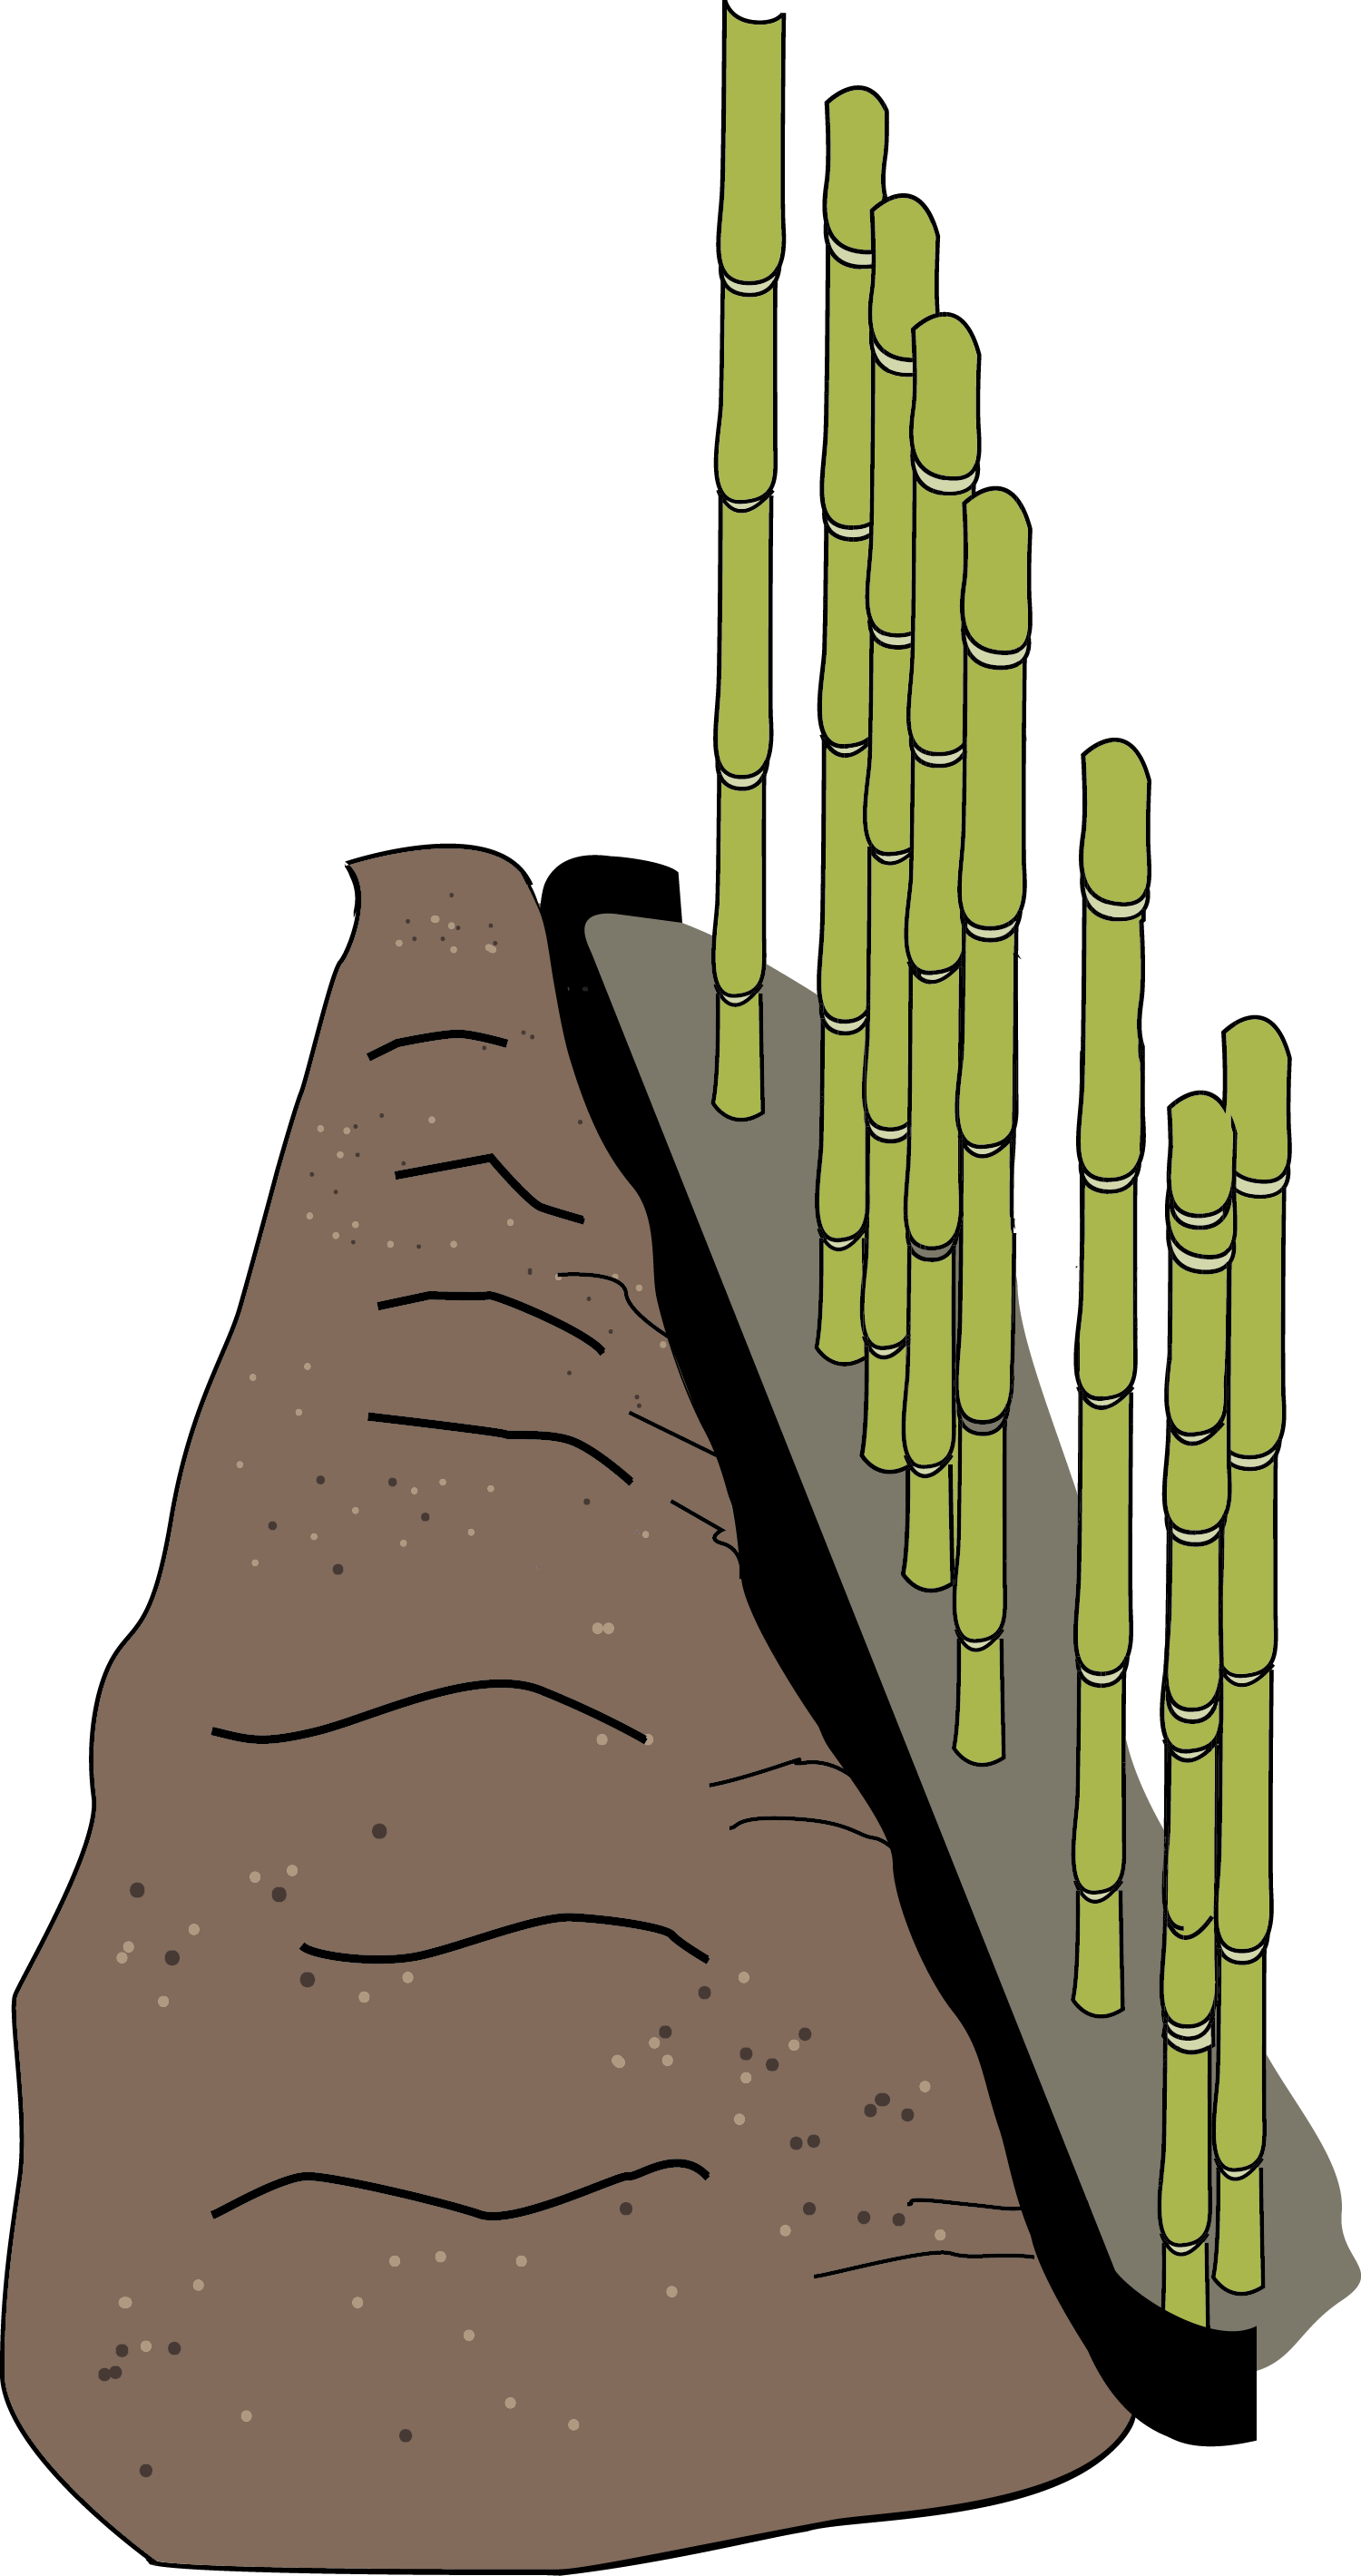
Set the barrier
Stand the barrier in the trench with about 2″ left above grade, shiny side facing the bamboo and the top angled slightly away from it. Backfill, tamping as you go to flatten any waves and speed up soil settling.
After installation
You may see a few shoots pop up on the far side later — that's stored energy in the cut-off roots. Snip them while they're young; sealed off from the colony, those stranded roots soon run out of steam and die.
Pro tips
- Lay the barrier out in the sun before you start — the warmth relaxes it and it uncoils.
- Tamp as you backfill to flatten any waves and cut soil-settling time.
- Always leave ~2″ above grade so surface rhizomes can't crest the top.
Joining two lengths of barrier? See the clamp instructions. Prefer a no-dig option? Root pruning works too — and here's how bamboo grows if you're new to it.