Bamboo Shield Clamp Instructions
Joining two lengths of Bamboo Shield takes a few stainless clamps and about ten minutes — and makes a seam that roots can't slip through. Here's how.
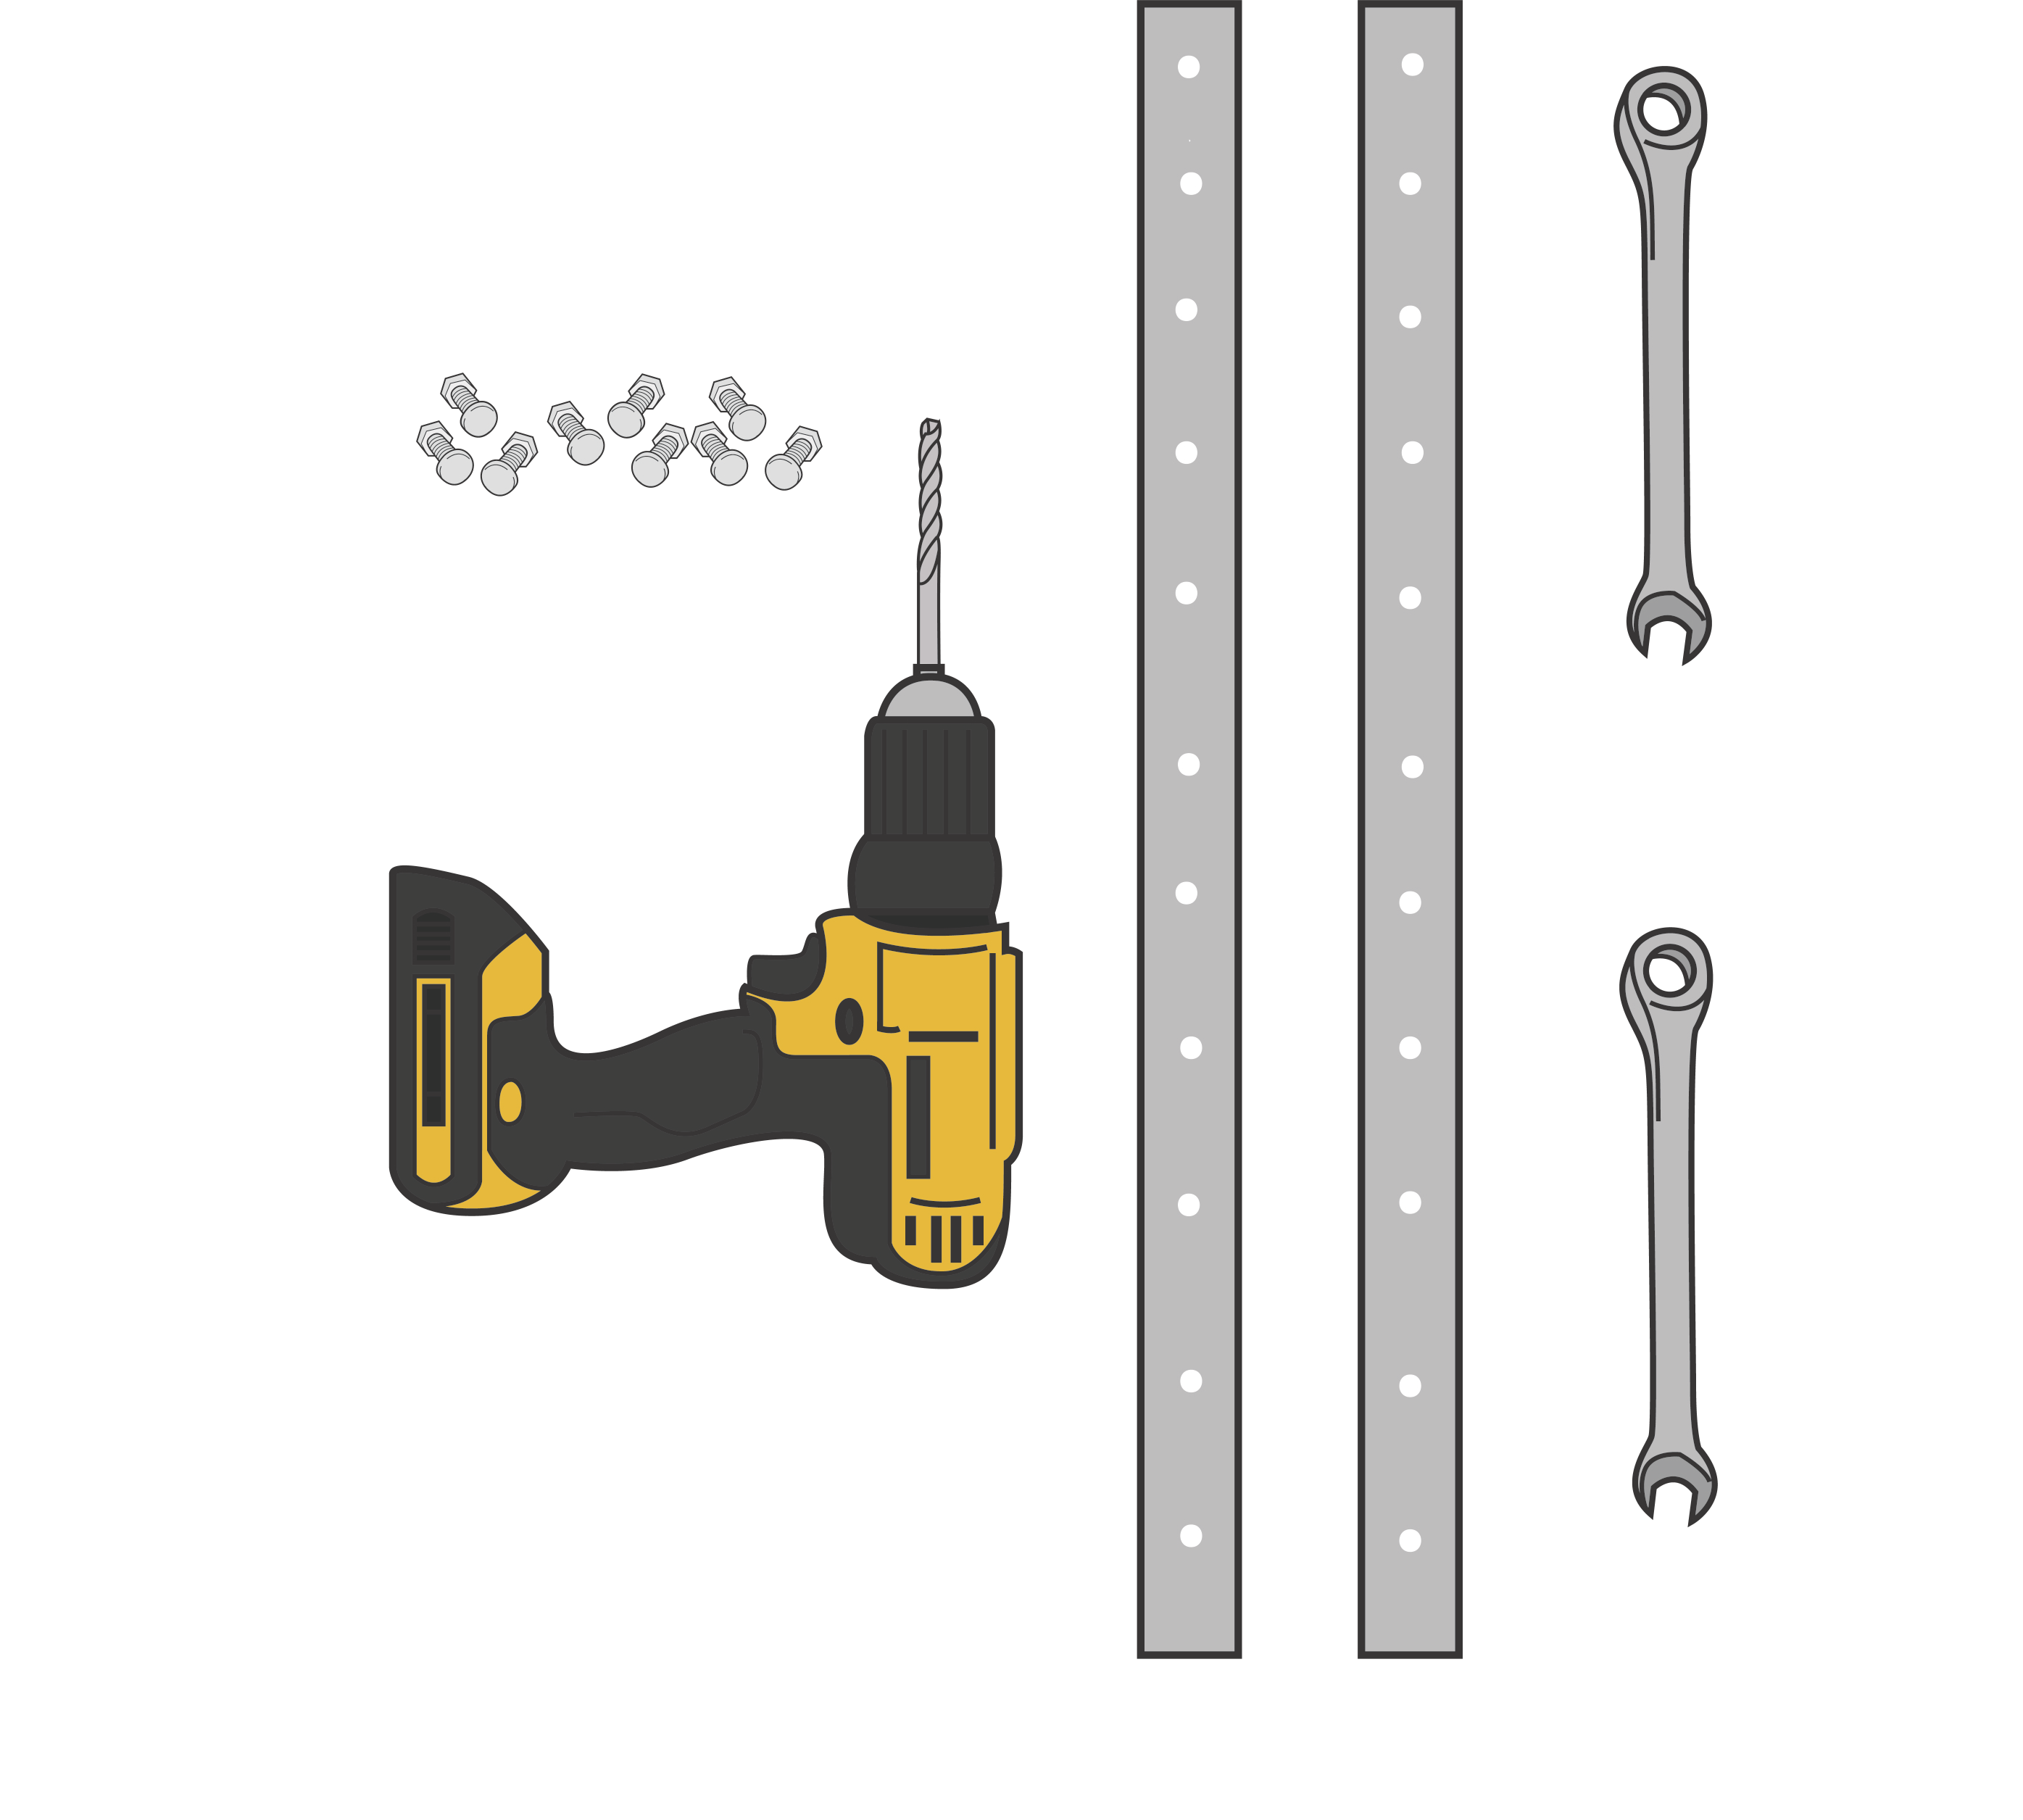
What you'll need
Your kit includes stainless steel clamps, the hardware, and a copy of these instructions. You'll also need a drill with a ¼″ bit and two 10mm wrenches to drill through the assembly and fasten the hardware. Work carefully around power tools.
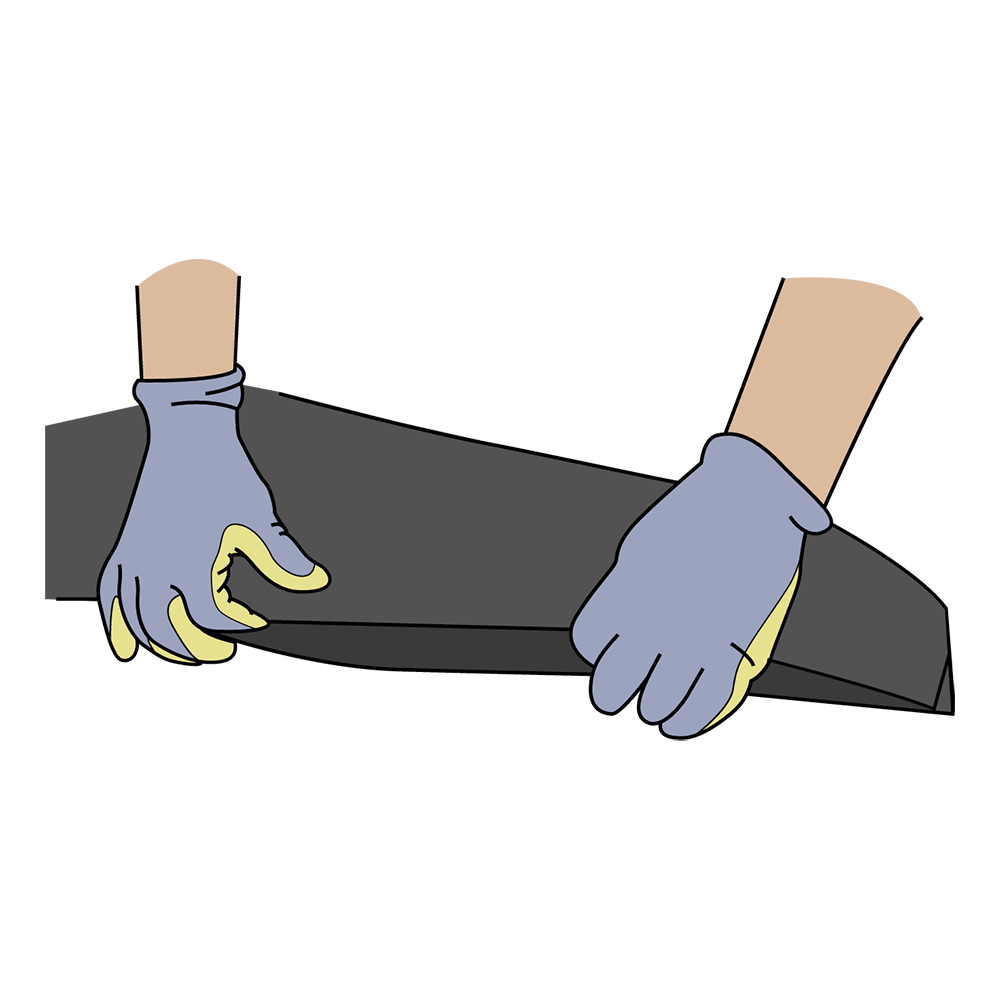
Overlap the ends
Overlap both ends of the barrier, leaving enough to cover the width of a clamp. Keep the material flat and even — it makes everything that follows easier.
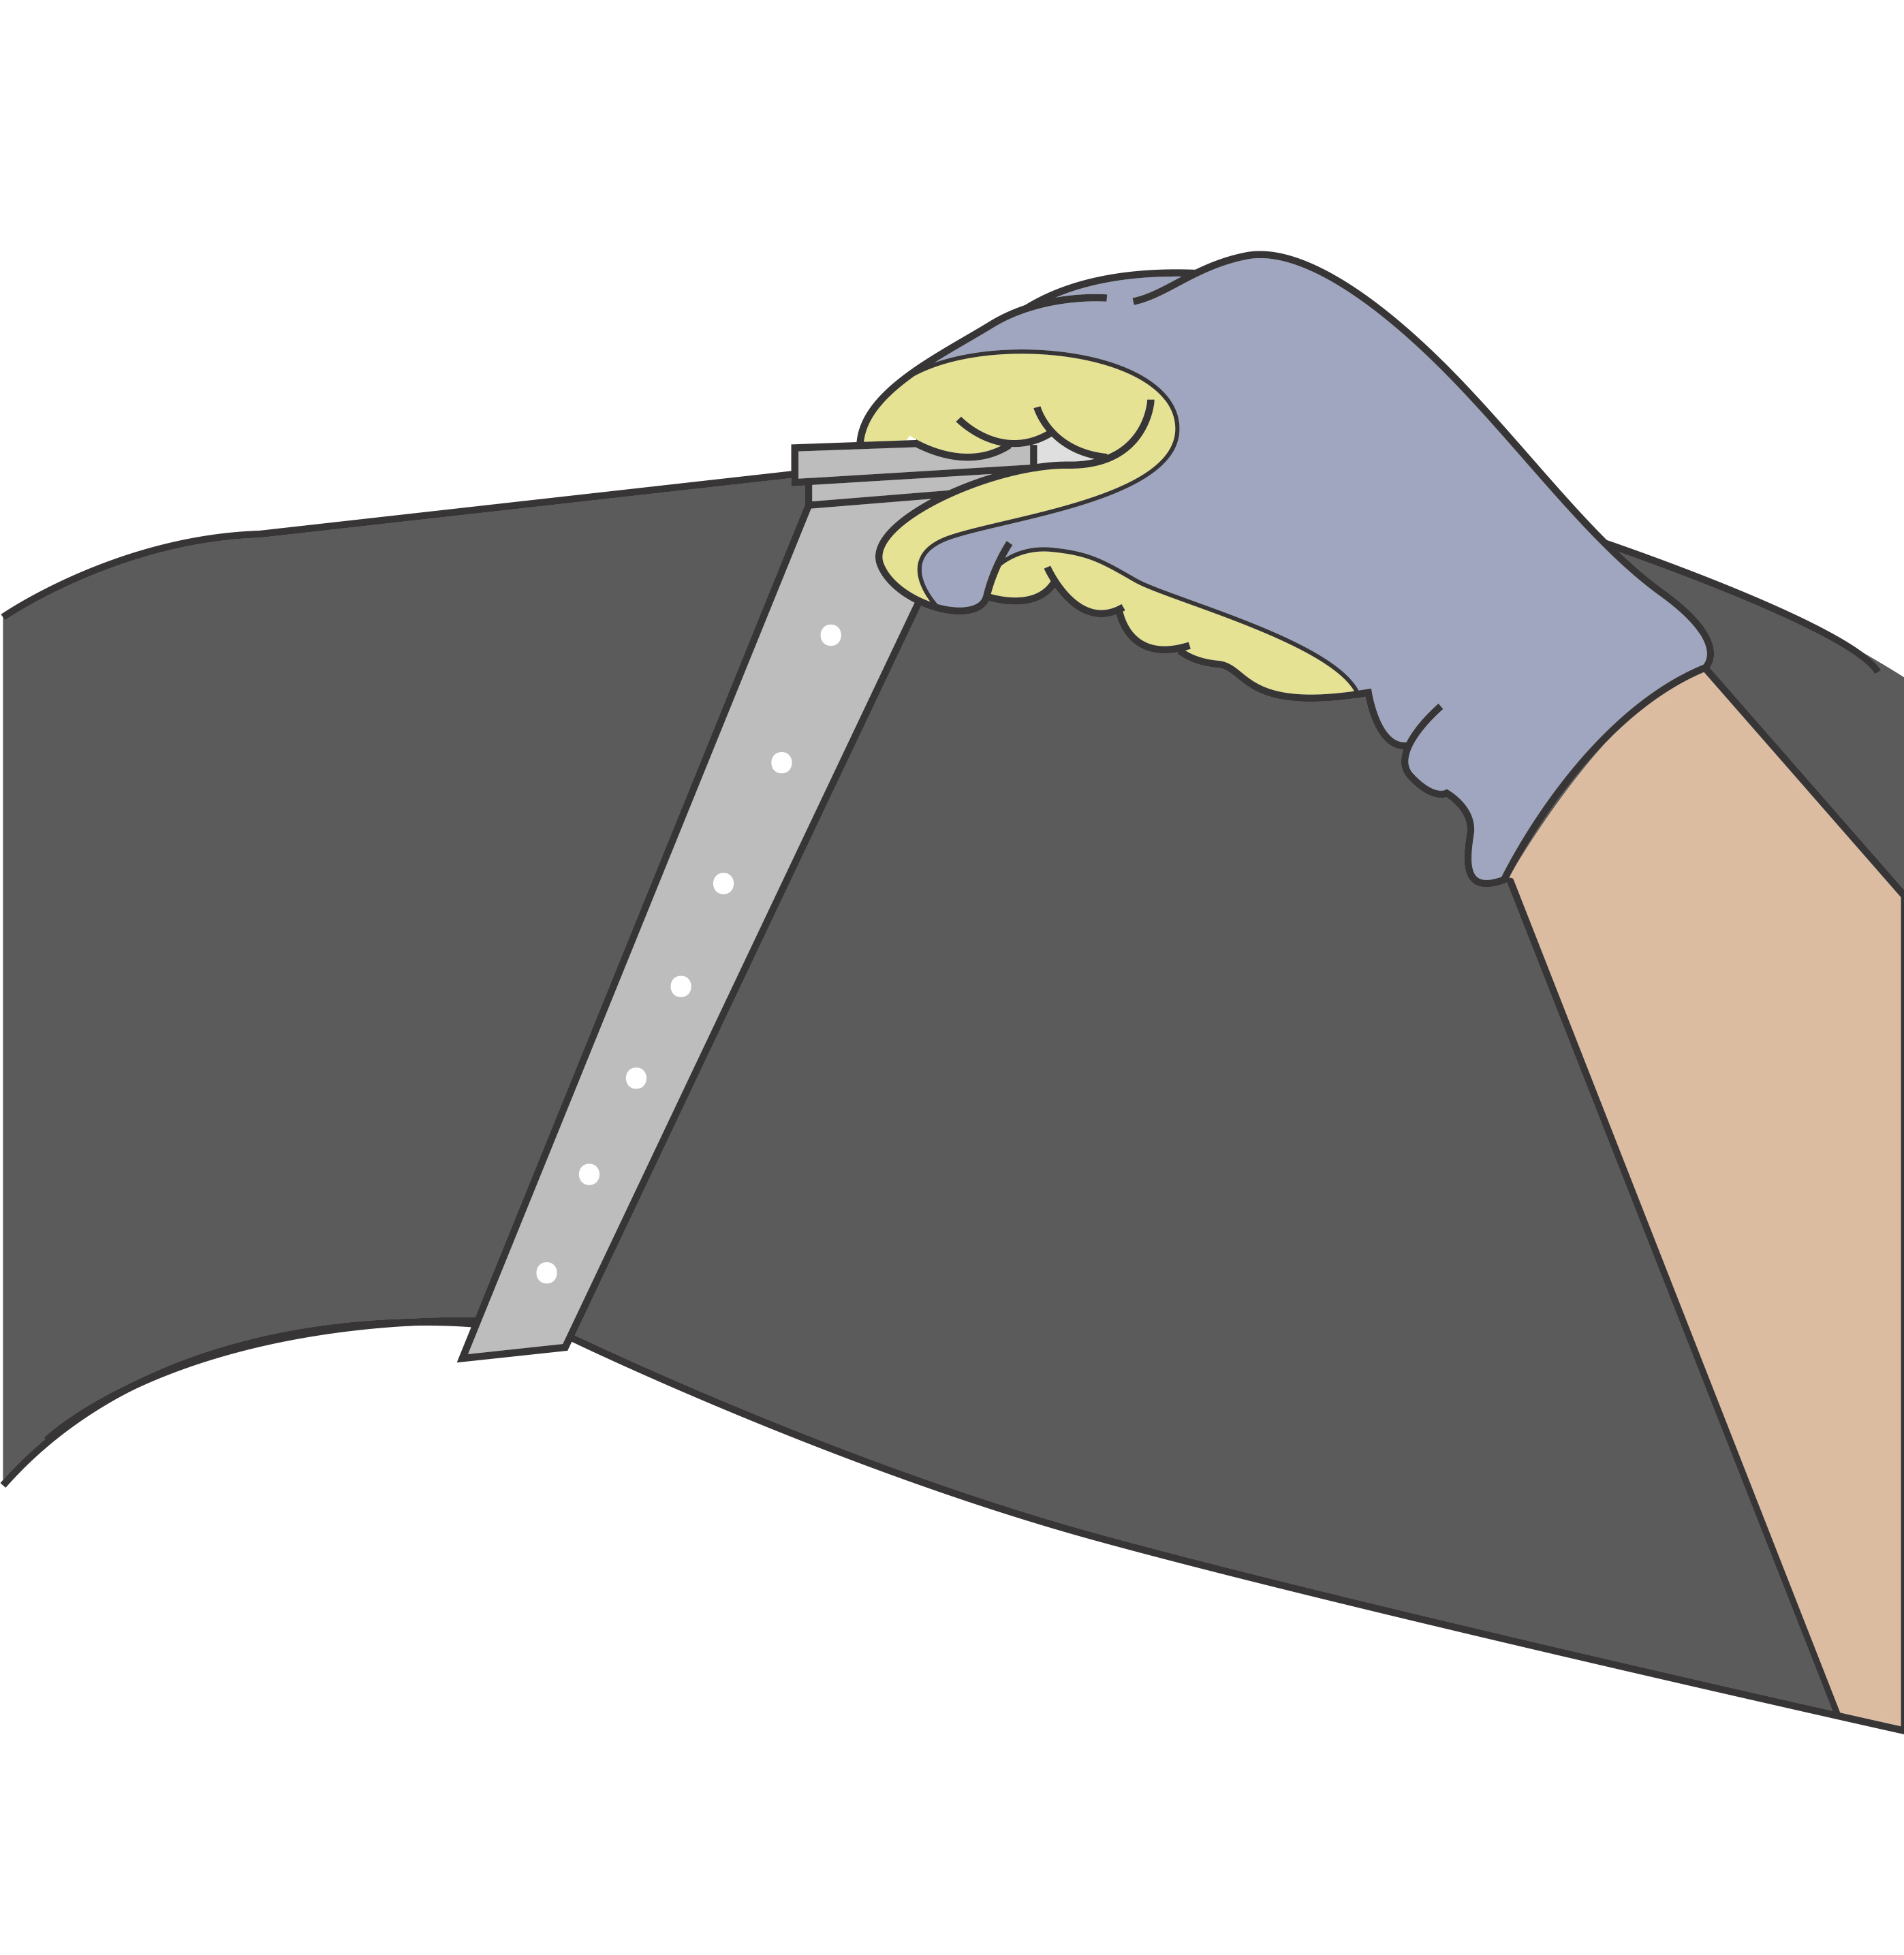
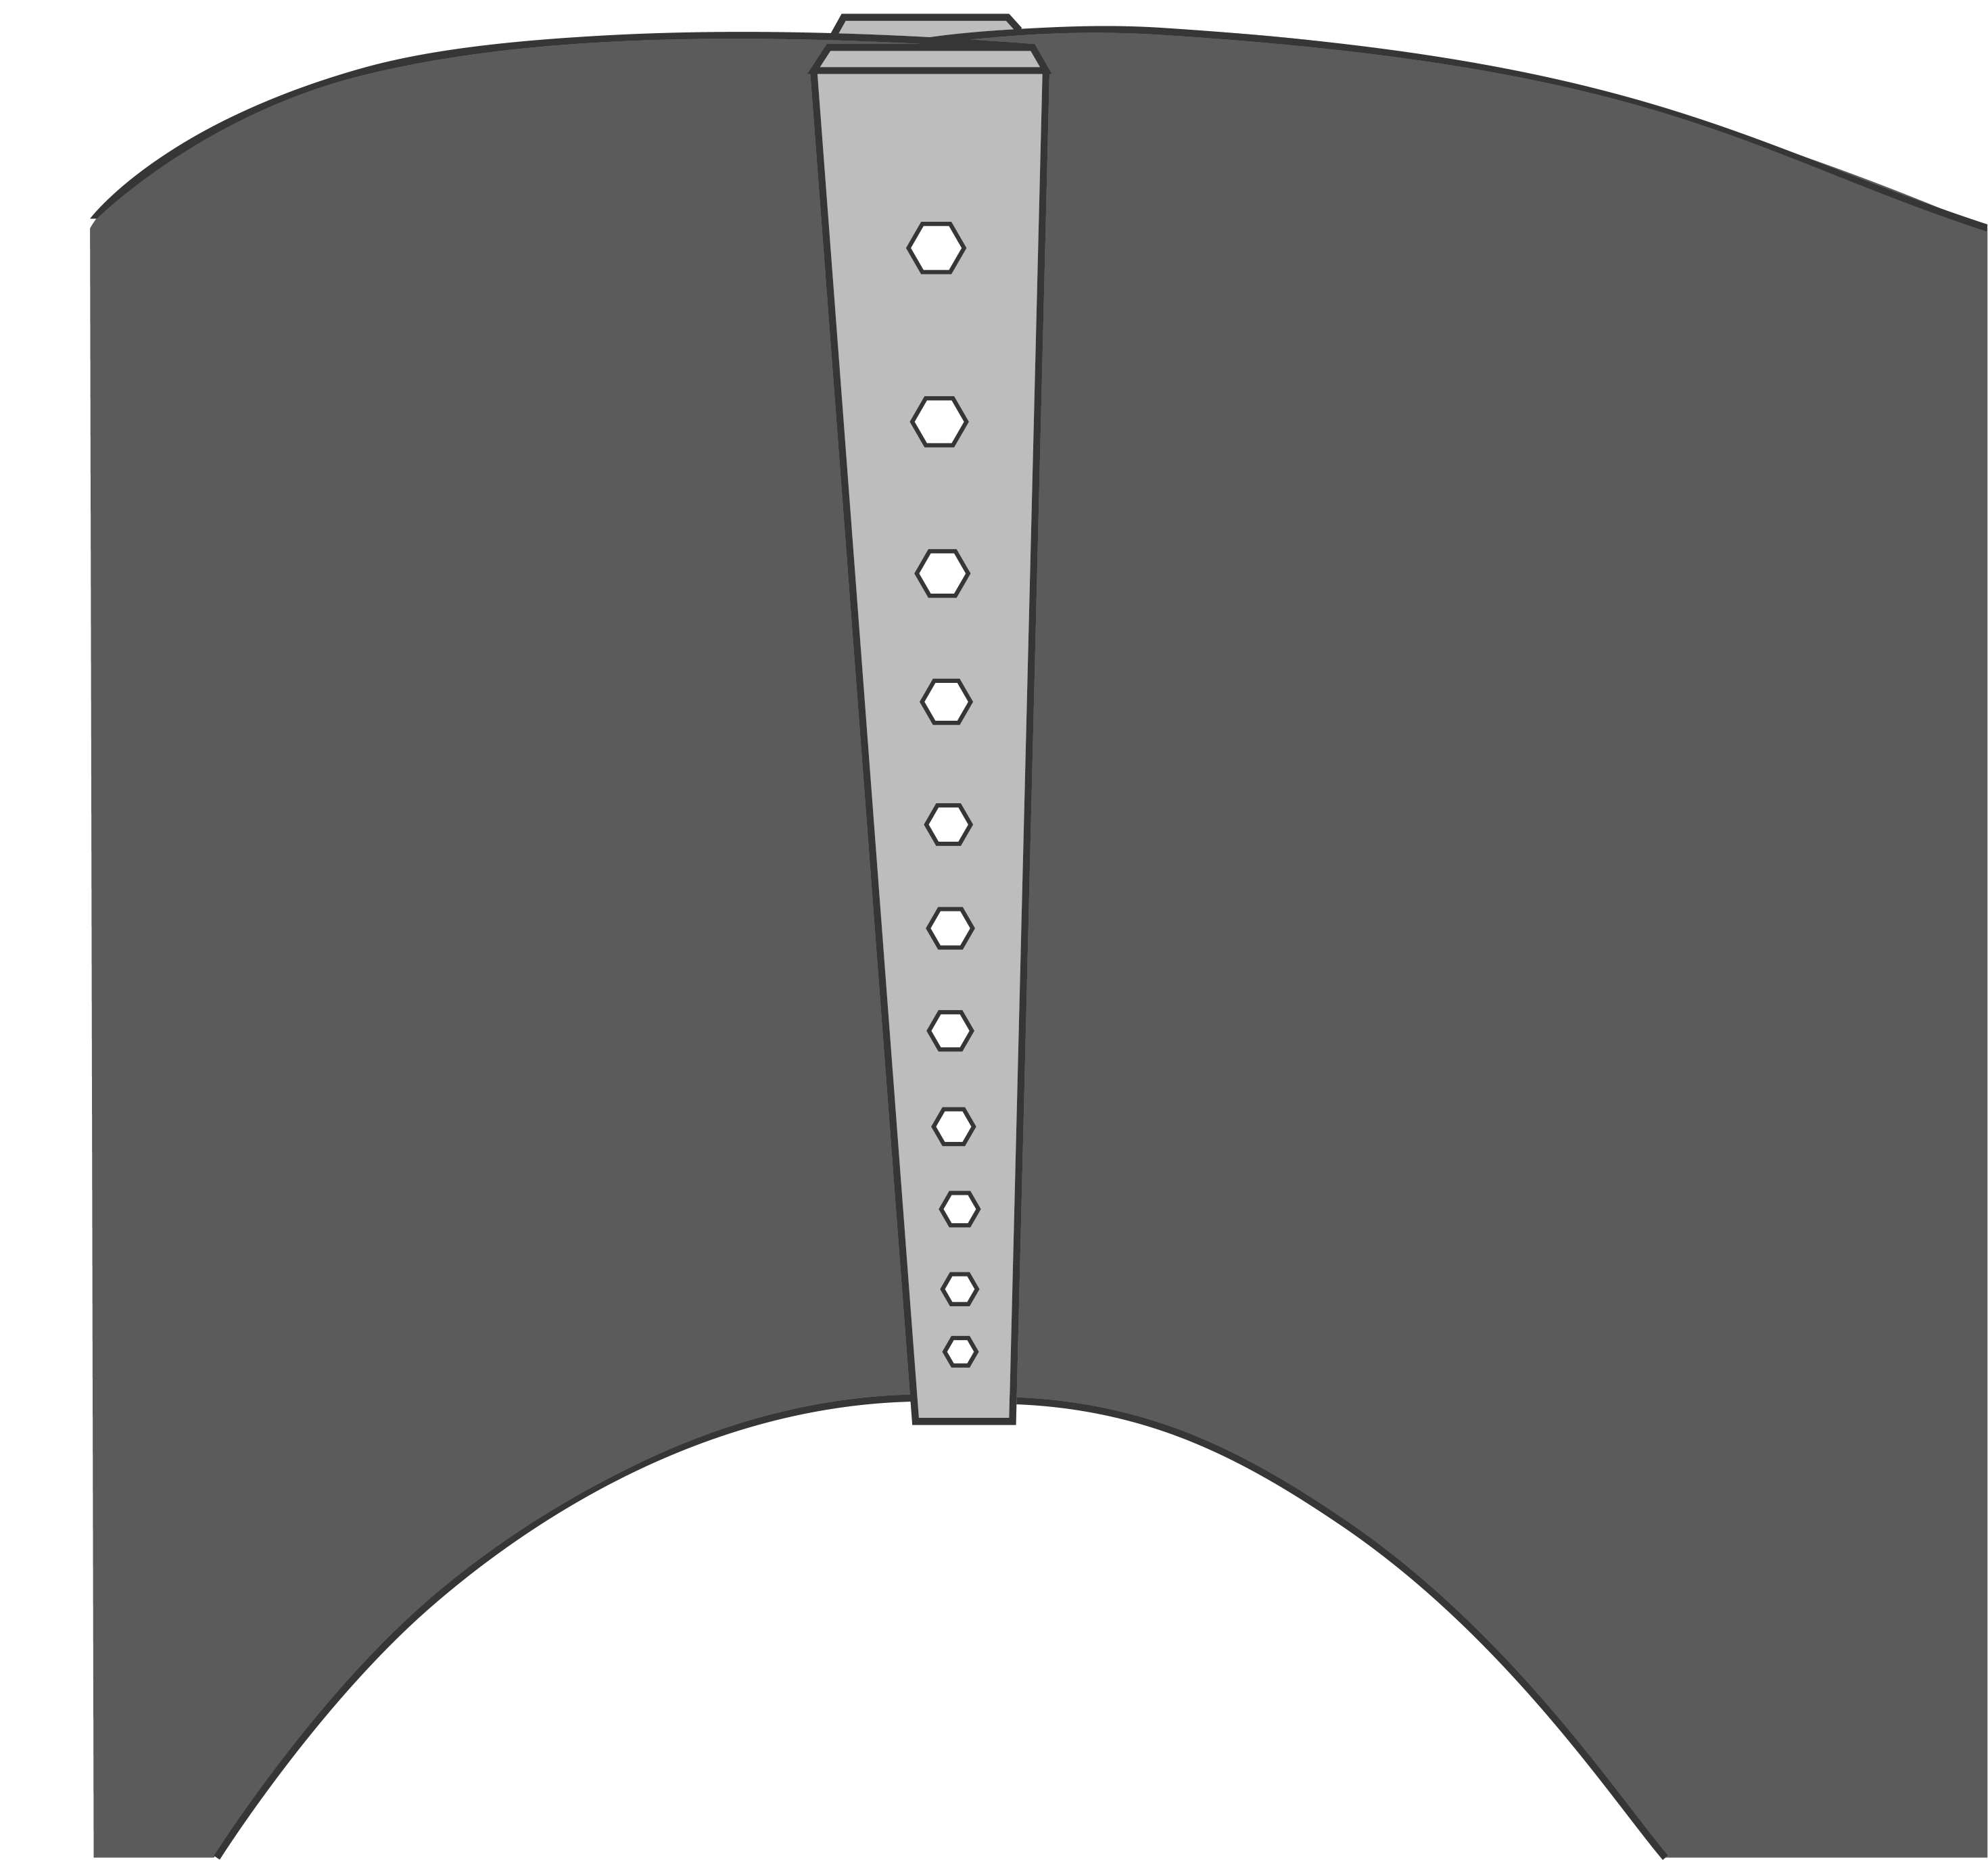
Align the clamps
Set a clamp strip on each side of the overlap and get them straight and square. Good alignment is what gives the clamp its full holding strength.
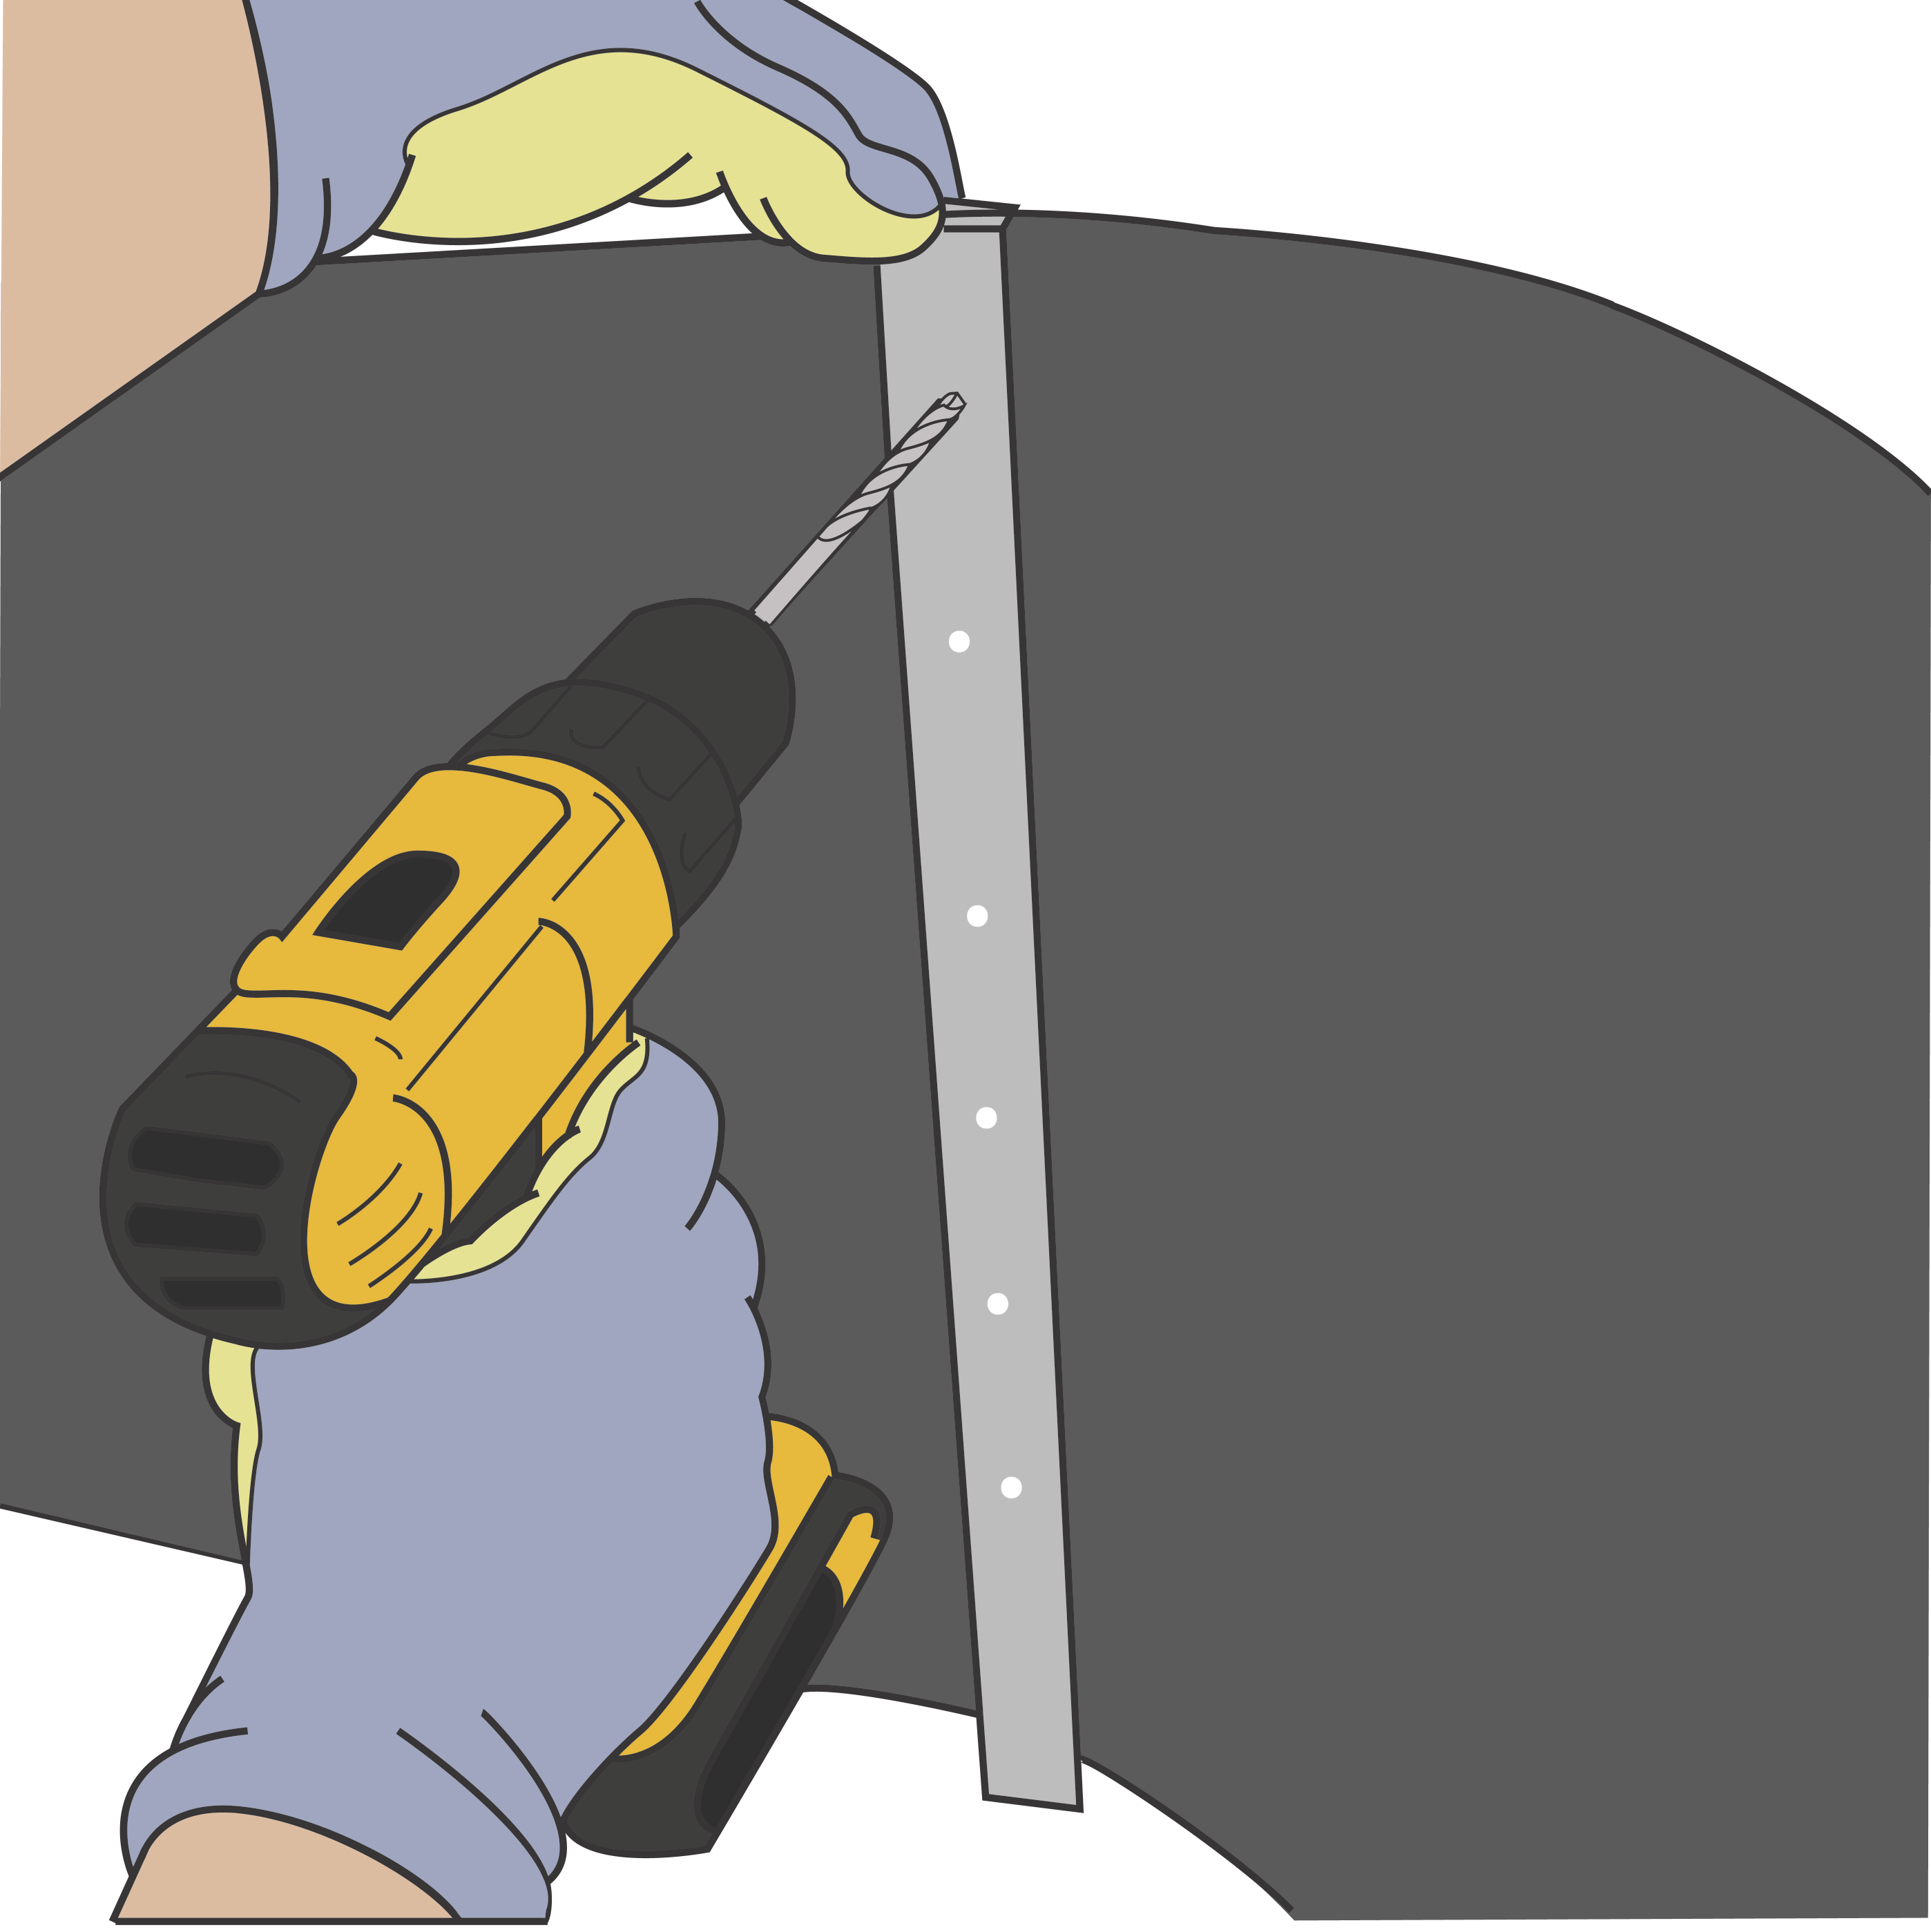
Drill through
Position the drill over the pre-cut holes and drill straight through: the near clamp strip, both layers of barrier, and the strip on the far side. Take real care while drilling.

Secure each hole
Fasten the first hole with a provided screw and nut, then drill and secure the next, and repeat down the seam. It goes faster if you fasten each before drilling the next.
You're done
Finished, you'll have brackets on both sides of the barrier with bolts every two inches, running straight down the middle of the clamps.
New to the barrier? Start with the full installation guide.