Bamboo Shield Installation
Bamboo Shield keeps new bamboo from invading. After installed, simply cut or mow new growth until remaining energy is exhausted. Here is the process:
Barrier Installation Key points to remember:
- Shiny side of the barrier goes towards the bamboo.
- Slightly angle barrier where the bottom is closer to the bamboo.
- A minimum of 2” should be left exposed above the soil level.
- Remember to always know what is underneath you before digging and use caution.
If you haven’t purchased your barrier yet, click here.
Bamboo Shield Installation Instructions
Bamboo Shield Installation
Installation Steps
-
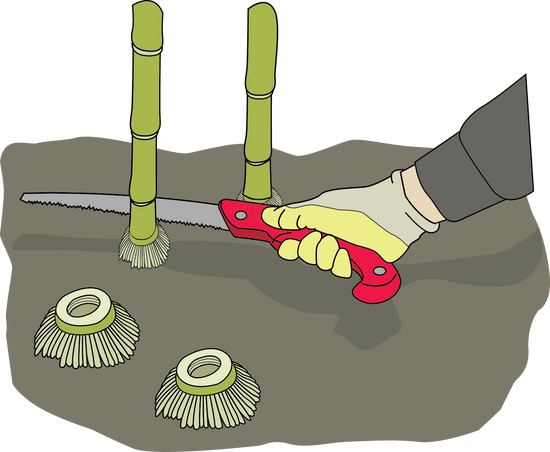
Step 1: Remove Unwanted Canes
Remove any bamboo that is outside of the desired control area. Bamboo is hollow and this can be done with most any medium duty saw or larger. (skip for new plantings)
-
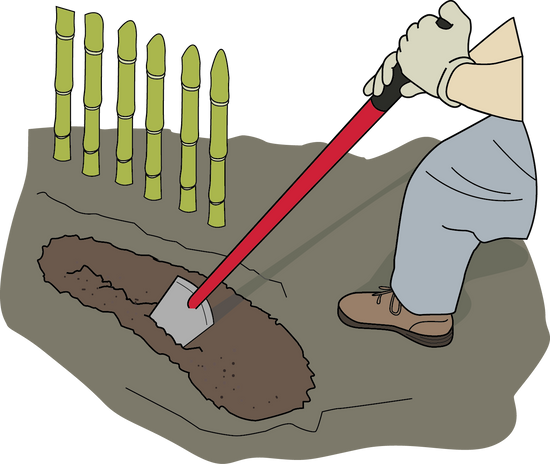
Step 2a: Dig Trench with Shovel
A small trench is dug in which the barrier is placed. It does not have to be wide, just deep enough for the material.
-
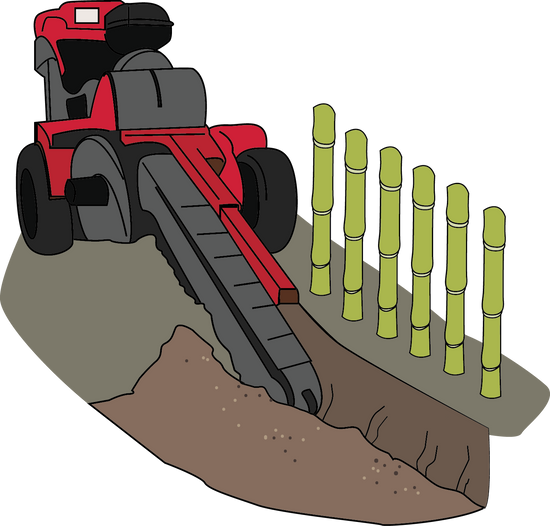
Step 2b: Dig Trench by Machine
Renting a trencher will make the job easier if the area is accessible. Make sure that the trencher goes deep enough for your selected barrier.
-
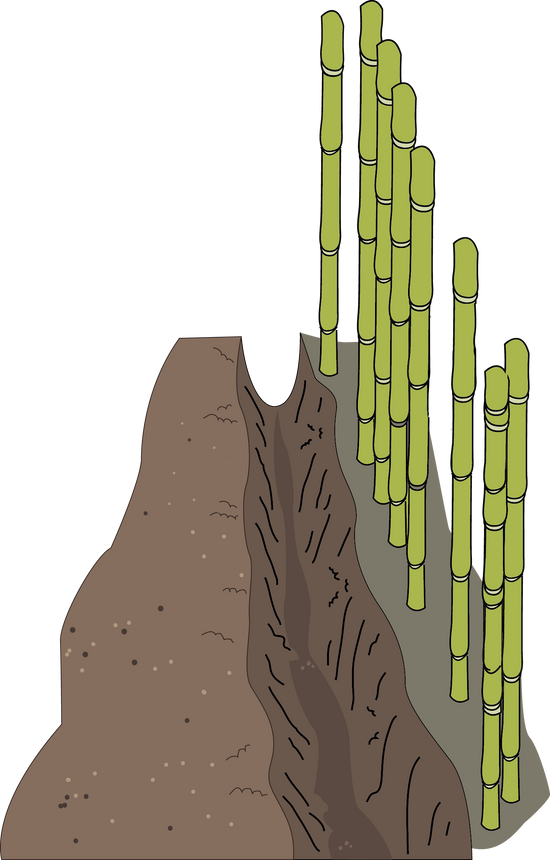
Step 3: Prepare Trench for Install
Check trench for correct depth. Clear debris that may impede the barrier from properly seating in trench. Tip: Prior to installation, lay the barrier out in the sun. This will relax the material making it easier to work with.
-
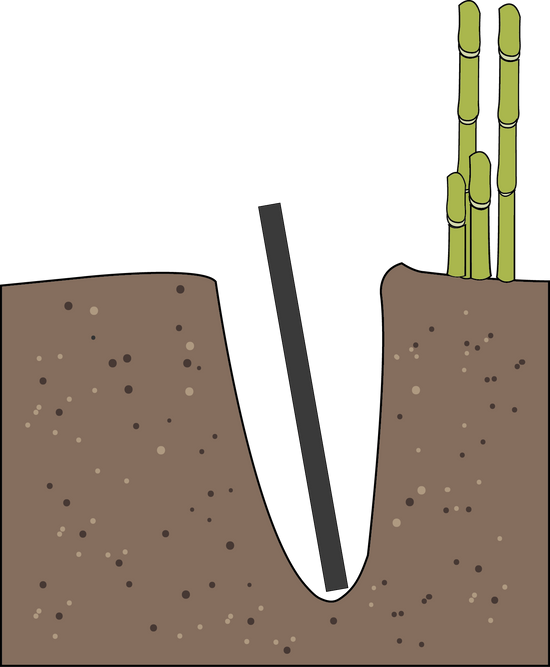
Step 4: Insert Bamboo Shield
Place the barrier into the dug trench with 2” exposed above grade. With the shiny side toward the bamboo, angle top of barrier slightly away from bamboo and backfill dirt into the trench. Tamping when backfilling can help fix any waves in material & reduce soil settling time.
-
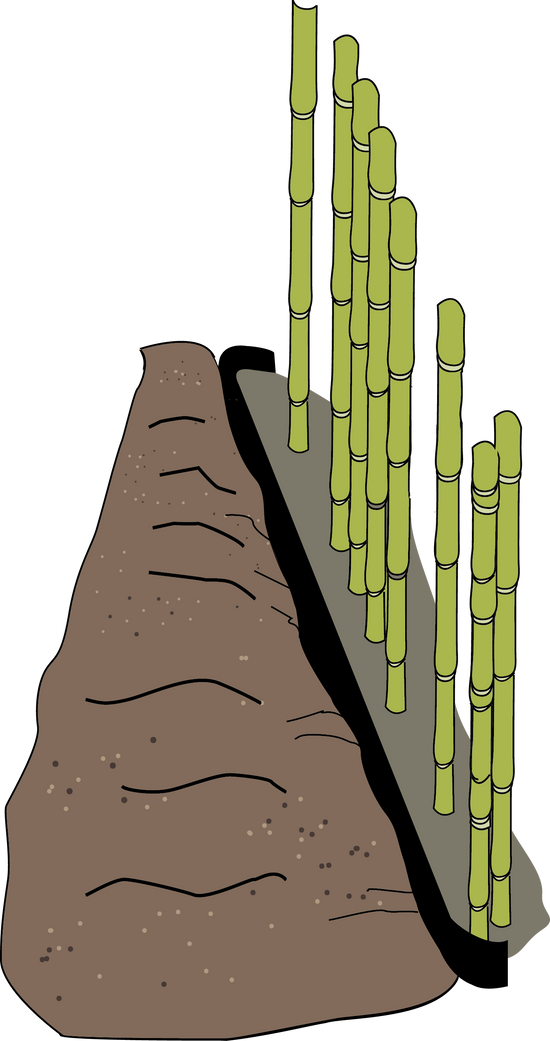
Step 5: After Installation
You may notice shoots emerging on the other side after some time. These shoots are being produced from the stored energy in the separated roots. Cut them down when they are young. Since they are cut off from the bamboo colony by the barrier, the residual roots will quickly exhaust their energy and die.


